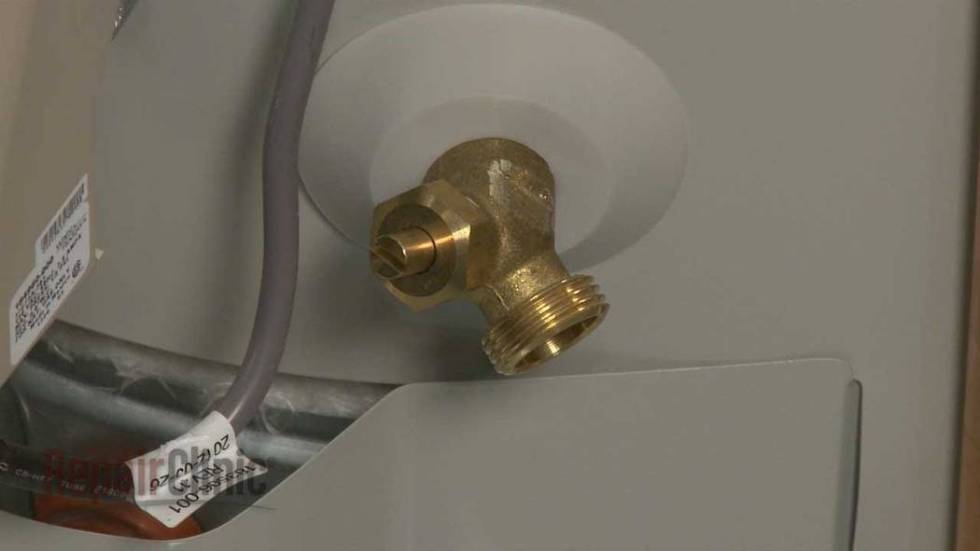
Dripping drain valve is quick, inexpensive fix

Q: I read your column on draining a water heater and it worked great. However, as I went to turn off the plastic drain faucet, it continued to drip. Is there a washer or something I can replace, or will this turn into a long, drawn-out project?
A: Your plastic drain valve is a one-piece throwaway, so you will need to buy a new one. You can do so for less than $10, or you can upgrade to a ball valve for a few dollars more.
The nice thing about the ball valve is that when the valve is open, it has a clear opening that allows you direct access to the tank (so you can loosen sediment if you choose) and also has less chance of clogging. The danger of a ball valve, however, is that since it opens and closes with a 90-degree turn of the handle, it can quickly scald any curious children. If you are going to use a ball valve for the water heater’s drain, install a cap on it so that if a child does throw the handle, the hot water won’t rush out.
Installing the new drain valve is as easy as unscrewing the old one and screwing in the new one. If you prefer not to drain the heater, you needn’t do so — the pressure just needs to be relieved.
Turn off the cold water supply valve to the water heater and then open a hot water faucet in the house to relieve the pressure. Then close the hot water faucet after the water stops coming out of it (this will also stop air from entering the system). Now when you unscrew the drain valve, you will only get a few cups of water that come out of it.
If you are replacing the drain valve with a plastic valve, you can screw it directly into the tank. If you plan to use a ball valve, you will need to install a nipple into the tank before you screw on the ball valve. With either installation, you will need to wrap the threads with Teflon tape.
Having a ball now? You can have even more fun by testing your TPR (temperature and pressure relief) valve. This valve is a safety feature that opens when the temperature or pressure inside the tank is too high.
When the valve opens, the hot water exits the tank through the valve and is piped to drain outside the house. Not having an operational TPR valve can mean a flood if the pressure blows off the drain valve or even an explosion.
To test the temperature and pressure relief valve, lift up on the metal lever. You should get a healthy flow of water out of the discharge pipe. If not, the temperature and pressure relief valve may be broken or blocked and should be replaced.
TPR valves are prone to leaking once you test them. If it leaks after you test it, try opening and closing the valve several times. If that doesn’t work, use a hammer and try gently tapping the TPR valve on the top of the lever. If it still leaks, lucky you. You get to replace it (remember to turn the water heater off before you replace the valve).
The valve just unscrews but, first, you must free it from the discharge pipe. You may get lucky and have it connected to the discharge pipe by way of a copper flex line. This will just unscrew from the valve, and it makes for a quick replacement. If the valve is connected to the discharge line by way of soldering, you’ll have to break out the torch and sweat it out.
The discharge line must be gravity-fed, which means there can be no rise in the line. It cannot have a rise in it where water could be trapped, preventing easy egress.
Mike Klimek is a licensed contractor and owner of Las Vegas Handyman. Questions may be sent by email to handymanoflasvegas@msn.com. Or, mail to 4710 W. Dewey Drive, No. 100, Las Vegas, NV 89118. His web address is www.handymanoflasvegas.com.