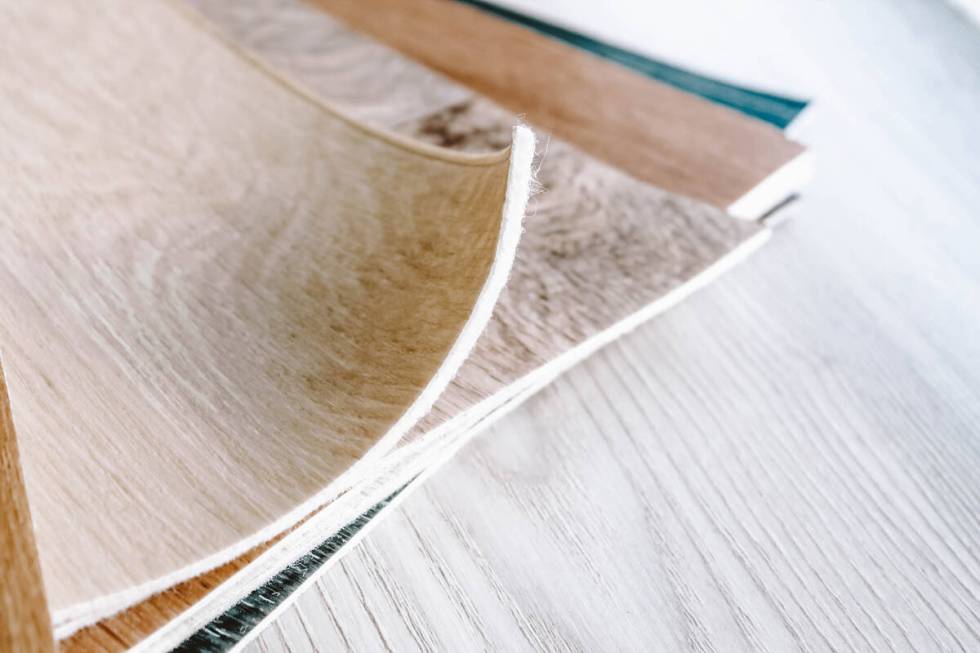
How can I fix my curled-up vinyl flooring?

Q: I have vinyl sheet flooring in my bathroom. The problem is that it’s curling up in several places and looks terrible. Is there a way to make it stay down?
A: Vinyl flooring can be a pain. The edges curl up and get brittle, and it fights to keep from being glued back down. It looks like a wave from Oahu’s North Shore, but I guarantee you won’t want to “hang ten” on it.
Actually, it’s easier to get vinyl to stay down if the piece that has curled is larger, rather than smaller. I know this seems strange, but if it’s only the edge of the vinyl that has curled, let’s say around the bathtub, it’s tough to reglue it without pulling back more vinyl and possibly damaging it. In that case, you can hide the curl with a fresh bead of caulking along the edge.
When you have a good curl going, try to remove as much of the dried glue as possible. Use a stiff paint scraper to gouge it from the concrete pad or wood subfloor, but be very gentle removing it from the vinyl because it rips easily when stuck with something sharp.
Any imperfections in the subfloor will be visible after the vinyl floor is glued down, so it’s important to remove any ridges left by the old glue.
After the old glue is removed, you’ll need to lay down some new glue. The trowels sold at a home center will probably be too large to fit into the small area that needs regluing. If so, buy a plastic putty knife (about 50 cents) and cut small notches in it with a utility knife. Read the manufacturer’s instructions on the adhesive for the size of the notches in the trowel that you will need.
Adhesive is sold at most home centers for around $10 per quart; you won’t need any more than that. Make sure that the adhesive and flooring are at least at a temperature of 65 degrees. Dip the homemade trowel into the bucket of adhesive and lay down the glue. The teeth that you cut in the trowel will leave grooves in the adhesive. Let the adhesive sit until it’s dry and tacky. When you touch it, none should stick to your finger. This will take at least 30 minutes or longer depending upon the temperature.
The last step is to push the vinyl into the adhesive, but because most curling vinyl has been that way for a while, it will resist laying down easily.
Sheet vinyl is more pliable when it’s warm, so use a hair dryer (set to hot) to soften it, then press it down. Keep weight on it for about a day, using a small board on the repair, then placing heavier objects on it to keep it down.
Another trick is to install a piece of quarter-round shoe molding on top of the curl to push it down and hide the area. If you choose to do this, paint the shoe molding first and then install it.
Lastly, apply a bead of caulk along the edge to make it look good and to keep water out.
Mike Klimek is a licensed contractor and owner of Las Vegas Handyman. Send questions to handymanoflasvegas@msn.com or 4710 W. Dewey Drive, No. 100, Las Vegas, NV 89118. Visit handymanoflasvegas.com.