Installing pocket door into closed-up wall can be real challenge


Q: We have an upstairs bedroom that leads into a Jack-and-Jill bathroom. The entry into this bathroom has a swinging door that should have been a sliding pocket door. We would like to install a sliding door in its place. How difficult and/or feasible is this?
A: Installing a pocket door during new construction is easy because the walls are open and everything is visible. Installing it into a closed-up wall can be a real challenge since you have to cut open the wall to twice the width of the door (and then some), remove some studs and whatnot.
A customer once called me saying that her husband installed a pocket door that now wouldn’t slide. After investigating the problem, I discovered that after the husband had gone to work, she decided to hang some pictures on the wall using some long nails. The nails not only penetrated the wall but the door “hiding” inside the wall as well. It was a simple matter of removing the nails to free up the door.
Somehow, I doubt she ever informed her husband of the picture-hanging cause of that problem.
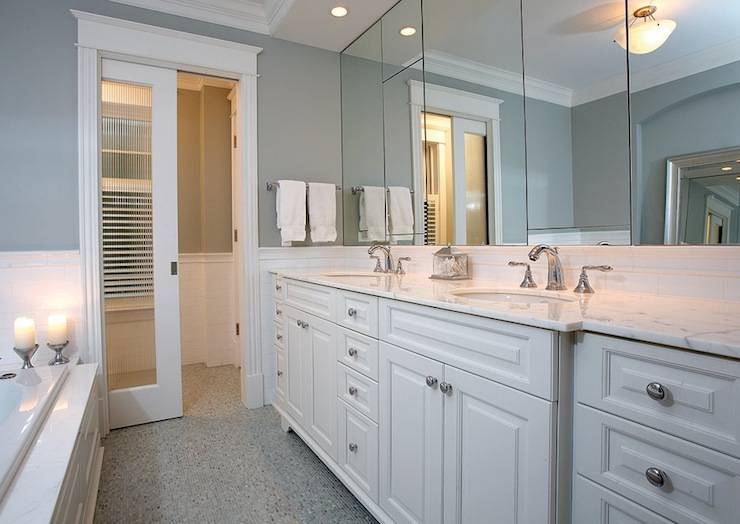
Nonetheless, a pocket door is a versatile home feature as it slides into the wall to allow passage, or it can close for privacy. It also saves space, as a regular swinging door can use as much as 10 square feet in its swinging radius.
The fact that this door slides in and out of a wall creates some challenges. Instead of solid studs, steel-reinforced split studs are used to create the gap into which the pocket door may slide.
The door also can’t be too thick or too heavy. About the thickest door you can use is 1¾ inches, which will clear by ⅛ inch on either side, assuming a 3½-inch wall cavity. Standard hardware will hold a door weighing 125 pounds, but you can buy heavy-duty hardware that will support a 200-pounder.
So long as you select a door that doesn’t exceed the size and weight restrictions, you can use whatever variety you choose: flat, paneled or glass inserts. You can buy a hardware installation kit that includes everything you’ll need.
Installing the door is only half the problem; you also will have to finish it to really kill your weekend.
The first step is removing the old door, jamb and trim molding. The manufacturer will have instructions as to how large to cut the rough opening for your pocket door. The width of the opening is generally twice the width of the door plus an inch or so, and the height is usually the height of the door, plus 3 to 4 inches.
Once you map out the cuts on your wall, use a drywall saw and cut away the drywall, according to the manufacturer’s recommendations, on one side of the wall. You will be left with the wall studs in your way. You will have to cut studs free from the drywall on the other side of the wall.
The studs will have to be removed and a header installed over the opening. Your wall may or may not be load-bearing, so consult with someone knowledgeable about this step.
Once you have the rough opening complete, you can move on to installing the hardware. The pocket door hangs from a track that is secured to the header. Some manufacturers’ tracks are adjustable for the length and some are a fixed length that you will have to cut to fit.
Whichever you have, make it the proper length to fit the header. You will have to secure a track end bracket to the end of the header to hold one side of the track. (Some manufacturers have you install the wheel carriers into the track at this point; these carry the door along the track.) Place the track in the bracket and lift it up against the header; then you can screw the track to the header.
Next, you need to install the split studs. They are held to the floor with brackets and nailed to the header. Locate the studs according to the manufacturer’s recommendations. One stud will go at the edge of the door opening and the other will go in the middle of the pocket. Make sure the studs are plumb and then secure them.
Secure the door hanger brackets to the top of the door and install the rubber bumper at the top rear of the door. Then hang the door by connecting the wheel carriers to the door hanger brackets. Mount the rear of the door first, then the front.
Plumb the door by adjusting the bolts on the wheel carriers. Once everything is nice and plumb, tighten the lock nut on the wheel carrier to hold the adjustments securely.
You can patch up the wall, texture and paint and then finally install the split jambs and trim molding around the opening.
If you have any problems with the door in the future, you can remove the split jambs to gain access to the wheel hardware.
Mike Klimek is a licensed contractor and owner of Las Vegas Handyman. Questions may be sent by email to handymanoflasvegas@msn.com. Or, mail to 4710 W. Dewey Drive, No. 100, Las Vegas, NV 89118. His web address is www.handymanoflasvegas.com.
Do-it-yourself
Project: Installing a pocket door
Cost: From around $200
Time: 1-2 days
Difficulty: ★★★★★