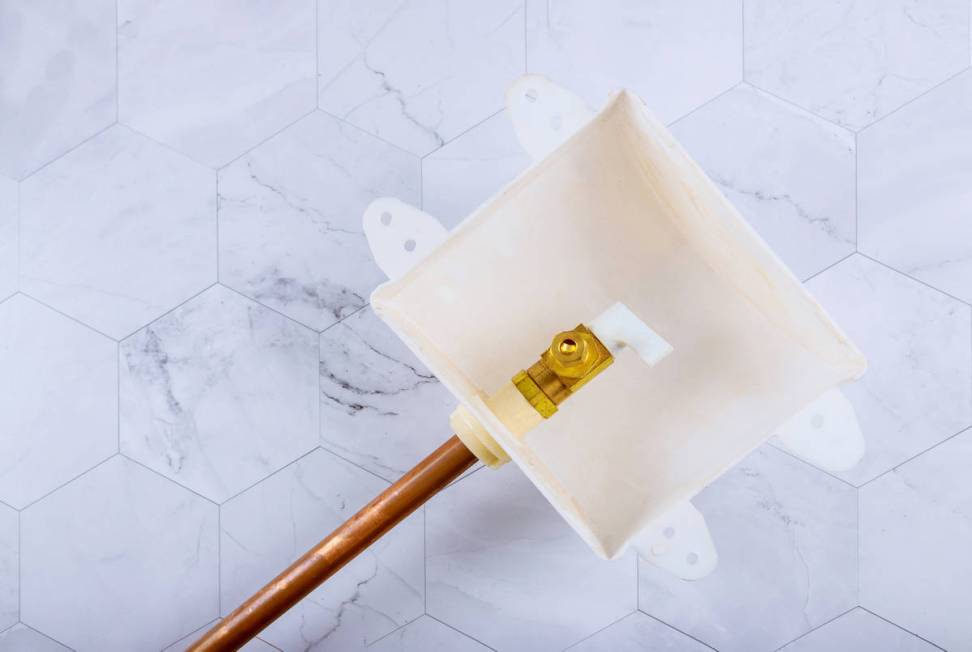
Saddle valve intercepts water, diverts to ice maker

Q: I was talking to a neighbor about hooking up an ice maker line, and he suggested using a “saddle valve” for the job. What is this, and how hard is it to install?
A: A saddle valve is unique in that it just clamps around the pipe and it intercepts the water and diverts it. This type of valve is perfect for an ice maker.
Having said this, I am not a huge fan of saddle valves, as many just seem to corrode and leak. However, I know lots of people who swear by them. I would rather install a new “angle” valve with an extra nipple to supply water, but some situations require a saddle valve instead.
You want to choose the cold-water line nearest to the ice maker that is accessible for future maintenance. Find a pipe (preferably a copper one) around which you can mount the saddle valve, but don’t select a supply line to a faucet as they are small and their walls are thin, which could lead to the walls collapsing.
With the location selected, clean off the surface of the pipe to get rid of corrosion or grime, then get ready to clamp on the valve.
The clamp portion of the valve is made up of two pieces of metal that have a slight bend in the middle to sandwich the round pipe. The valve portion of the assembly is attached to one side of the clamp sandwich, and you want to make sure the valve is securely attached to the clamp. If it’s not, you can turn it clockwise to tighten. The clamp is fastened around the pipe with two bolts to keep it from moving.
If you look under the valve, you will see a very sharp point. This is another thing that makes a saddle valve unique: The valve self-pierces the pipe. It is this sharp point that pokes a hole in the pipe (in some pipes such as iron, you have to predrill the hole).
Place the rubber gasket over the self-piercing point. The point should not extend beyond the gasket. If it does, turn the handle counterclockwise to recede the point.
Place the valve into position over the pipe; place the lower half of the clamp assembly on the opposite side of the pipe and install the bolts to tighten the clamp together. Tighten the clamp until the gasket compresses slightly, then stop. You want the clamp to be tight so that it won’t move, but if you tighten it too much, you can crush it, so be careful.
Now you get to pierce the pipe. Some people keep the water on as they do this, but I prefer it off. If you want it on, you will get a little water leaking out until you adjust the valve. It’s probably safer to just turn it off and take your time rather than going frantic because of a leak. You can turn it off right under the sink at the angle valve.
To pierce the pipe, turn the valve stem clockwise. You will feel it bottom out against the pipe and feel resistance as it penetrates the pipe’s wall.
Turn the water back on and check for leaks. You will likely have to tighten the packing nut (the nut right below the stem’s handle) or maybe even tighten the clamp (not too tight). You can flush the valve by holding a pot under it and opening it.
All that is left to do is to connect the ¼-inch line to the valve and run the line where you need it. You will have to place a metal sleeve inside the water line and then slip a nut and ferrule over it to prevent leaks.
Mike Klimek is a licensed contractor and owner of Las Vegas Handyman. Questions may be sent by email to handymanoflasvegas@msn.com. Or, mail to 4710 W. Dewey Drive, No. 100, Las Vegas, NV 89118. His web address is www.handymanoflasvegas.com.