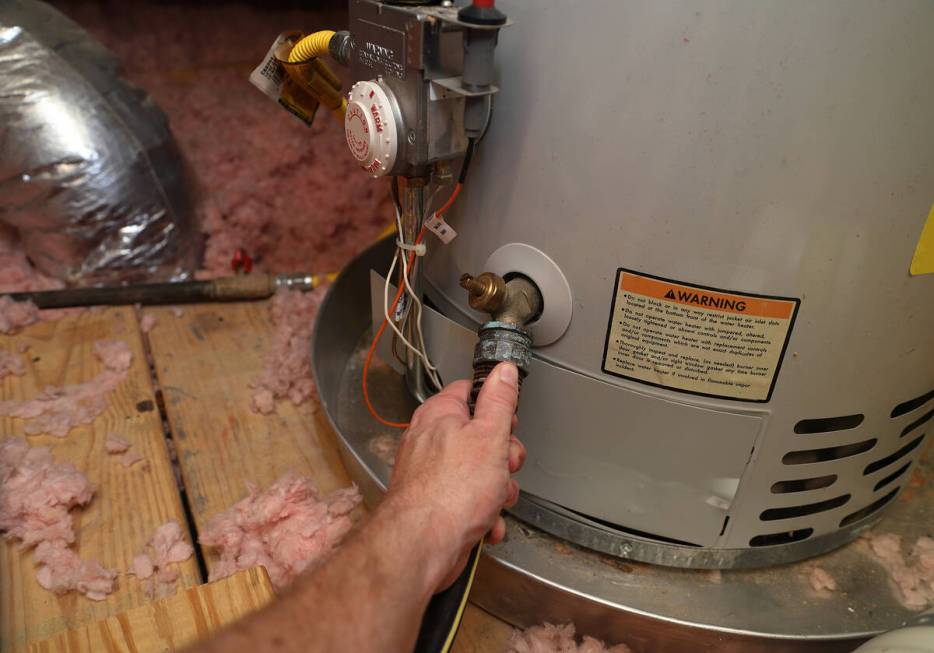
T&P relief valve makes sure water heater operates safely

Q: My water heater leaks from some type of a brass valve on the side of the tank near the top. There is a pipe that comes out of the valve at a right angle that looks like it goes through the wall. How can I fix the leak on this piece?
A: You are referring to the temperature and pressure relief valve (T&P or pop-off valve). This is an extremely important component that helps make sure your water heater operates safely. It is simply a valve that allows excess pressure to exit the water heater’s tank.
This valve helps prevent your water heater’s tank from exploding, and it will open if the temperature inside the tank exceeds 210 degrees or if the pressure inside the tank exceeds 150 psi. The valve’s opening allows cold water into the tank to prevent boiling and the possibility of an explosion.
Although you don’t often hear of a water heater exploding, it does happen. There is a video showing the force an exploding tank can exert (view it at waterheaterblast.com), and the test was done with only a 12-gallon electric water heater, and the relief valve was plugged to hold the pressure in, simulating what would occur if the relief valve failed to operate.
The testers dug a hole in the ground as deep as the height of the water heater. The thermostat was kept on until the tank exploded. The force of the explosion launched the water heater into the air where it stayed aloft for more than 9 seconds and landed some 400 feet away. A little side note: The velocity was measured at 900 feet per second.
Imagine the damage a projectile of this size and weight could do to a house and its occupants. Thank goodness for relief valves.
Periodic testing of the valve is important, but often, it will not completely seal up after testing. Testing a relief valve involves lifting up the metal tab and allowing water to pass through the drain pipe.
After releasing the tab, the valve should stop. If it doesn’t, you can toggle the tab again or try tapping the top of the valve gently with a hammer. If the valve doesn’t shut off, you should replace it.
If your valve is leaking from the seat of the water heater (the place where the valve screws into the tank), you may try to remove the valve and wrap some Teflon tape or paste around the threads and reseat the valve. It may be that the seat is corroded to the point where you must replace the water heater.
The relief valve will have a drain pipe leading out to the exterior. This pipe will be connected to the valve by some type of a union or flex pipe. These will unscrew from the valve. Use a pipe wrench and unscrew the relief valve from the tank.
You can buy a new valve, wrap it with three turns of Teflon tape and screw the valve back in. Make it snug, and finish it so that the opening of the valve points downward or to the side.
One caution here: The relief drain line must be gravity-fed, so this means there can be no rise in the pipe. From the point where the valve leaves the tank, the drain line must run level or downhill. This is so that water won’t get caught in the pipe and slow the evacuation of the pressure.
When that valve opens up, you don’t want anything obstructing the line. Screw the drain extension back onto the valve.
If your relief valve’s drainpipe enters the wall at a point higher than the valve itself, you will have to open the wall and drop the drainpipe down below the height of the valve. You will need various fittings, and then you will need to patch the wall.
Mike Klimek is a licensed contractor and owner of Las Vegas Handyman. Questions may be sent by email to handymanoflasvegas@msn.com. Or, mail to 4710 W. Dewey Drive, No. 100, Las Vegas, NV 89118. His web address is www.handymanoflasvegas.com.