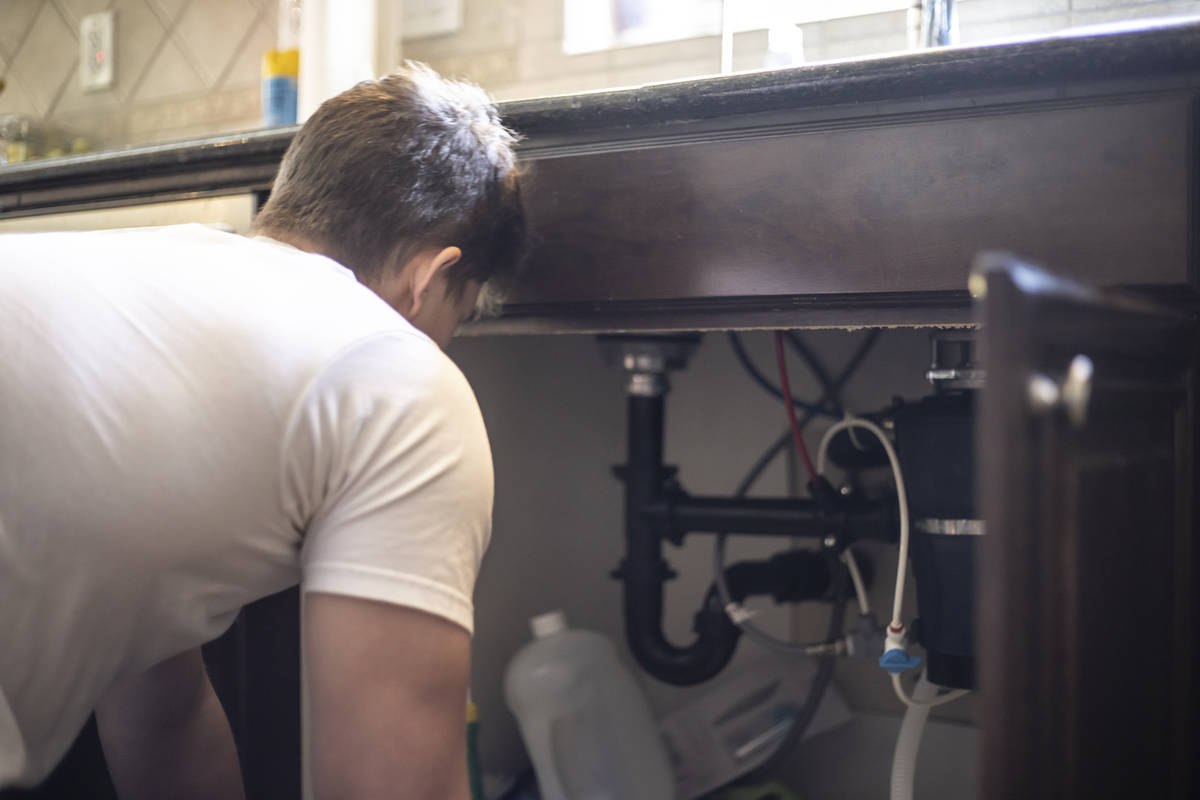
Copper adhesive should fix leak under sink
Q: I have a problem with my plumbing. Below my kitchen sink is a copper pipe that comes out of the wall, extends for about a foot and then goes back into the wall. I have noticed a small leak coming from a fitting and it needs to be repaired. My problem is that I’m scared to use a torch as I don’t want to burn my house down. Is there any other choice?
A: We all have choices to make. If you don’t want to sweat the fitting with a torch, your choice is to either call a plumber (minimum cost: $125) or use a copper adhesive (about $10). It is basically an epoxy for copper pipes. Check with your local building department to make sure there are no restrictions against it, as some places don’t allow it.
The pipe you described sounds like a loop for a water purification system, and if that isn’t in your budget, then you get to repair the leak. There are several companies making copper adhesive products. They go by different names, but they are used in the same manner with no heat required.
Ordinarily, you would heat up the leaking fitting with a torch and remove it. But since you are apprehensive, I would suggest you cut the fitting off and rebuild the loop.
Use a pipe-cutting tool (it looks like a C-clamp with a sharp wheel on it) and run it around the pipe. Gradually turn the screw that will tighten the cutter around the pipe. If you don’t have a pipe cutter, you can use a hacksaw, but don’t put too much pressure on the pipe or you may cause it to go “out-of-round.”
I would cut the loop so that what you are left with are the two pipes coming out of the wall. Just remember to leave as much pipe sticking out of the wall as possible, so you would need to cut right behind the fitting.
You will need two elbows and a straight length of pipe. Cut the length of pipe so that when the elbows are connected it will slide onto the pipes coming out of the wall. Dry-fit the parts together to make sure they all connect fluidly.
The freshly cut pipe will look very clean, but you will have to remove the small burrs inside the pipe. You can do this with the reaming attachment on the tubing cutter. Next, you will need to clean the mating surfaces of the tubing and the fittings.
Clean the outside of the copper pipe with emery cloth and the inside of the fittings with a wire pipe brush (they are sold in various diameters to match various pipe sizes). This will make the copper look like a shiny new penny.
The copper adhesive comes in a syringe-like dispenser. It has two chambers that are filled with equal parts of resin and hardening material.
Cut the tips off of the chambers and depress the plunger to dispense equal amounts of material onto a flat surface. Stir the mixture vigorously for about 30 seconds until it is uniform in color. Apply a heavy film of the mixture onto the outside of the pipe, and a thin film to the inside of the fitting.
Make sure that there are no gaps in the adhesive or you will end up with a pinhole leak.
Then push the pipe into the fittings with a slight twist. It’s just that easy.
The drawback with copper adhesive is that it has a “cure” time: The adhesive must get rock hard for it to hold. You must wait about 20 minutes before you pressure up the line. If the adhesive is not hard after the cure time, then it’s possible that either the two-part mixture was not mixed in equal parts or maybe it was not mixed thoroughly.
In that case, you will have to take the joint apart, mix a new batch of adhesive and put the joint back together again.
The full strength of the adhesive won’t be reached for 24 hours, but when it cures it has a burst strength of more than 1,100 psi. Although you don’t get to use fire, the adhesive products are a good choice.
Mike Klimek is a licensed contractor and owner of Las Vegas Handyman. Questions may be sent by email to handymanoflasvegas@msn.com. Or, mail to 4710 W. Dewey Drive, No. 100, Las Vegas, NV 89118. His web address is www.handymanoflasvegas.com.
Do-it-yourself
Project: Copper adhesive
Cost: Around $10
Time: About 1 hour
Difficulty: ★★★


