Don’t neglect routine shower maintenance
Q: I have a big problem. A section of ceramic tile near the base of one of the walls in my shower looked like it was pregnant. What’s worse, when I applied pressure on it, the wall would move in and out.
I had a neighbor come over to help and we ended up cutting open the wall where the shower knob is, figuring that the leak was coming from the plumbing. Everything was dry.
I am confident that the leak is not inside the wall, so I have repaired the damage. However, I have stopped using this shower until I can understand why this happened. I am stumped. Can you tell me what happened?
A: Yes, you do have a big problem. You’re in good company though, because several people each week call me to come look at their soft shower walls.
The problem is usually not a plumbing leak. Don’t get me wrong, water has crept behind the wall and seeped up the drywall. On some occasions, there’s a leak from the plumbing inside of the wall. However, the cause usually results from neglecting some routine maintenance.
The drywall used in your shower is water-resistant greenboard, but it’s not waterproof. When drywall gets wet, it’s like an old dry sponge waiting for water. When water hits it, the drywall bloats. That’s why your wall looks pregnant.
Homeowners often neglect to repair cracked or missing tile grout and to replace the old caulking. Grout will crack and chip out creating a void where water can enter.
If you see a gap in the grout, fill it in. A box of grout will cost about $15. Mix it up with water and stuff it in the gap. Wipe off the excess with a wet sponge.
In your case, I would guess that it’s the caulking that failed and likely caused your problems, particularly since the damage is located at the base of the wall.
Caulking is meant to create a waterproof joint between your shower pan and the wall. Over time — or because of poor initial installation — caulking cracks or peels away from the wall. If the drywall was installed too closely to the shower pan, the water easily will climb up the wall and cause it to bulge.
Before you apply new caulk, remove the old stuff. This can be tough because the old caulk can be as hard as concrete. My tool of choice is a thin metal putty knife (about $10), just don’t scratch the surfaces. Work the blade under the caulk on the shower pan side and the tile wall side.
Sometimes the old caulk will come out in one strip, and sometimes you have to ram the blade into the caulk to break it off. You can use alcohol to clean the surface thoroughly after removal.
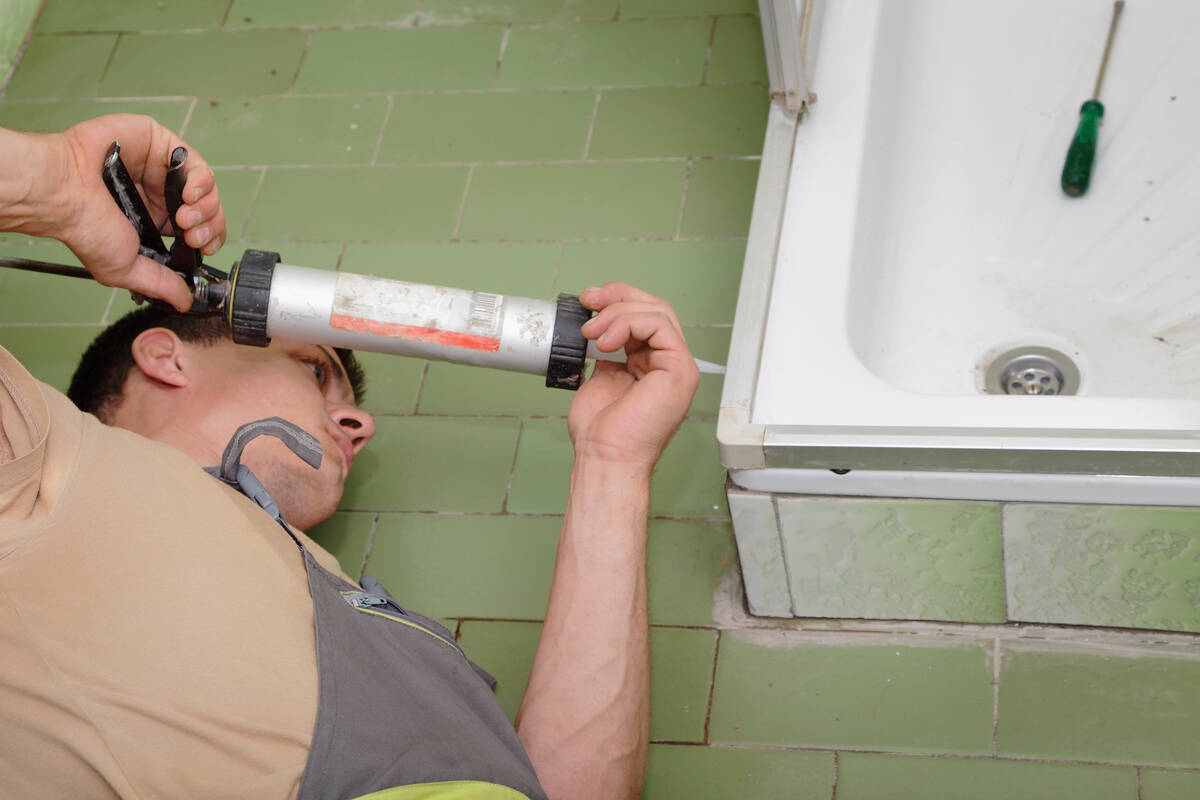
I use a mildew-resistant silicone bathroom caulk (about $10 per tube) that remains flexible. By the way, don’t buy the caulking that you have to squeeze out like toothpaste.
Instead, buy a caulking gun (about $10) and the correct tube will load into the gun. You simply squeeze the trigger to dispense the caulk. This method gives you much more control over where the caulk is going.
After you load the tube in the gun, use a utility knife with a sharp blade to cut the nozzle near the tip at a 45-degree angle. The opening should be about ⅛ of an inch. Make sure the cut is smooth. Use a long nail or a piece of wire and stick it down the hole to punch through to the caulk.
The key to a good-looking bead of caulk is applying it consistently. You want a bead that doesn’t change much in size or shape.
Start at one end of the shower pan and continue all the way around with no stops in between. Use slow and steady pressure on the trigger. You may have to twist the gun or change the angle to get the right look.
Once you have the right look, keep a steady hand. I usually caulk the vertical seams first, if they need it.
The last step is smoothing out the bead of caulk. Do this before the caulk has had time to skin over. Wet your finger and lightly drag it over the fresh caulk without stopping. If you have used too much caulk or too much pressure smoothing it out, you will push it out and have excess to clean up.
You also can try the rounded corner of a credit card to smooth the bead. The credit card also works well to scrape off the excess caulk or to get someone else to do the job for you.
Mike Klimek is a licensed contractor and owner of Las Vegas Handyman. Questions may be sent by email to handymanoflasvegas@msn.com. Or, mail to 4710 W. Dewey Drive, No. 100, Las Vegas, NV 89118. His web address is www.handymanoflasvegas.com.
Do-it-yourself
■ Project: Repair shower leak at wall
■ Time: From around 4 hours
■ Cost: From $200
■ Difficulty: ★★★★


