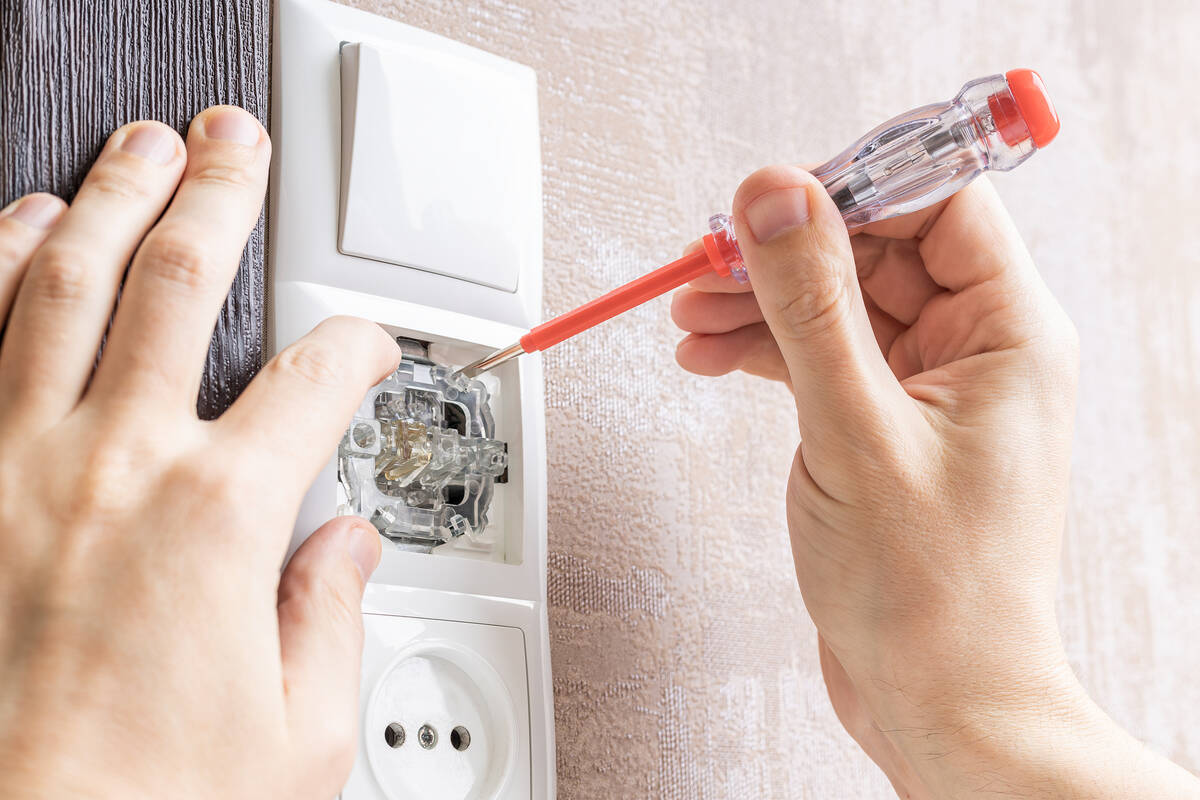
Before you test light switch, try replacing the bulb
Q: I have a tenant who complained that a light fixture wouldn’t light. After I replaced the switch, the light still wouldn’t come on. I realized that all the bulbs were out. Anyway, is there a way to diagnose a light switch?
A: You have violated the weekend lover’s creed: Never do more work than you need.
Although it seems nearly impossible, there are times when all the bulbs will go out, especially when you are not there to replace them. Sometimes people get lax and let one burned-out bulb go, then another, until finally there is only one working bulb left in a fixture of eight. Naturally, you wouldn’t consider that possibility, but you could have taken a working bulb from another fixture, or even stuck a tester into the socket to check for power before you went to the trouble of replacing the switch.
An essential tool for testing switches is a continuity tester. You also can use a multimeter by turning the dial to read “continuity.”
Light switches are plastic but have metal parts to conduct electricity. A continuity tester checks if these metal parts are worn or broken, and it will light up if the switch is good, while a multimeter has a needle or meter that will spring to life. You can test a continuity or multimeter by touching the probes together and checking for the light or moving needle.
Before you start removing switches from the wall, make sure you turn off the power at the main panel.
To test a standard wall switch, touch one of the probes to each of the screw terminals. When the light switch is in the off position, the tester should not show continuity. But when the switch is on, the light should glow. If the switch fails to do this, then replace it.
For a three-way switch, touch one of the probes to the dark common terminal and the other probe to one of the traveler screw terminals (there are two). Flip the switch off and on. The light should illuminate in one of the positions but not both.
Now touch the other traveler terminal and flip the switch. The light should illuminate in the opposite position from the first traveler terminal. If it doesn’t, replace the switch.
You might also find timer and time-delay switches. These have dials on them, and they are tested in the same manner as other manual switches.
A timer switch can be tested by touching a probe to the red wire and the other probe to the black wire. Rotate the timer until it passes the “on” tab and the tester should glow. Rotate it again until it passes the “off” tab and it should turn off.
A time-delay switch is one that could be found to turn on a heat lamp in that you have to rotate the dial past a certain point. Then, it counts down on its own and shuts itself off. To test this one, touch a probe to each wire and turn the dial. The tester should glow until the switch turns itself off.
Electronic switches, like programmable or motion sensor switches, also are tested the same way. Each of these will have two wire leads coming out of them. It’s the same deal: Touch one probe to each wire and flip the manual lever from “off” to “on.” The tester should glow in the “on” position, but not the “off” position.
You can see the commonality with testing switches. Before you go through the hassle of testing the switch, try just replacing a bulb. Your weekend will thank you.
Mike Klimek is a licensed contractor and owner of Las Vegas Handyman. Questions may be sent by email to handymanoflasvegas@msn.com. Or, mail to 4710 W. Dewey Drive, No. 100, Las Vegas, NV 89118. His web address is www.handymanoflasvegas.com.
Do-it-yourself
Project: Testing switches
Cost: Around $10
Time: Less than 10 minutes
Difficulty: ★★


