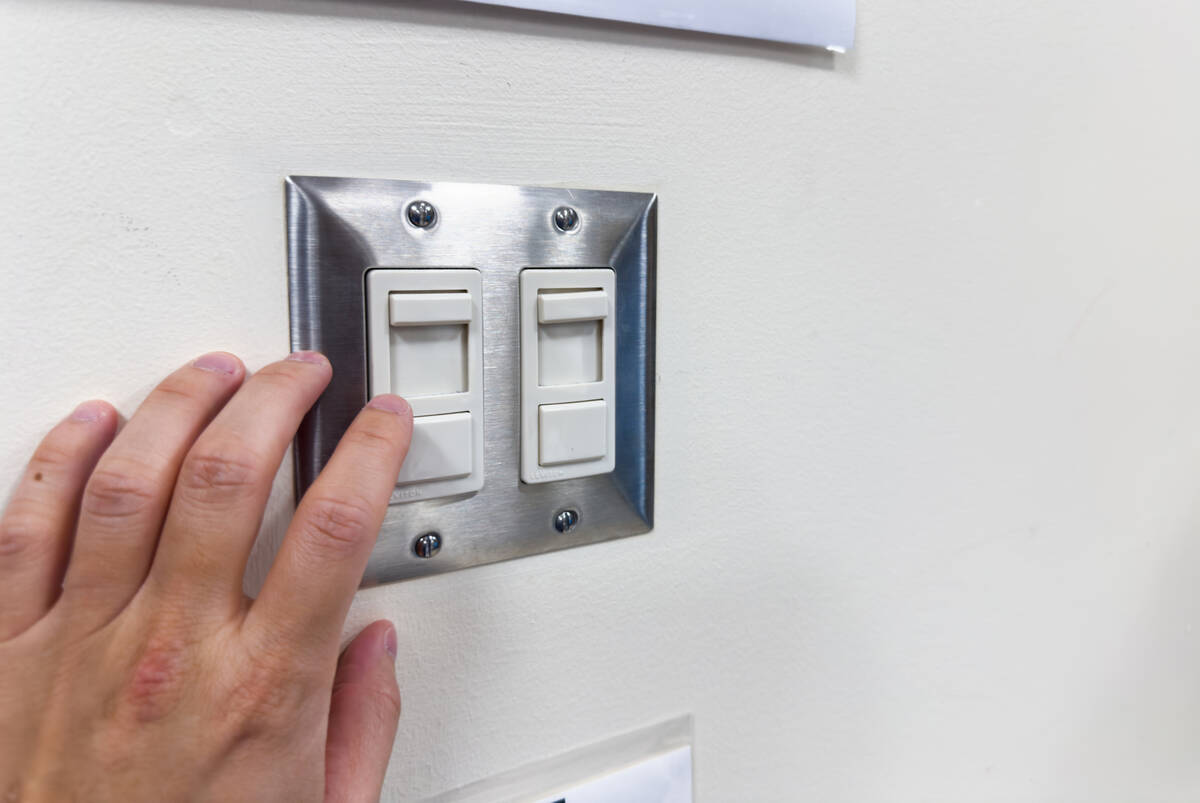
Installing a dimmer switch can help your lighting set the mood
Q: During a recent dinner date at my house, I thought about how romantic it would be if I could dim the lights. My light switch doesn’t have this feature and I would like to replace it with one that does.
A: Who says home improvement can’t be romantic? Maybe the night would have been more successful if the lighting was just a little softer. It would be my honor to help you get your groove back.
Replacing a light switch is very easy. There are a few different kinds. A slide dimmer allows you to slide the knob up or down to adjust the brightness; a dial dimmer can be adjusted by turning the knob; a toggle dimmer looks like a regular light switch, but has an adjustment on the side; and an electronic dimmer turns on and off by touch and adjusts brightness with a longer depression of the controller. The electronic dimmer looks more expensive and is more expensive.
Buy a single-pole switch if there is only one switch that turns the lights on and off. If you have two locations that turn the lights on and off, you will need a three-way switch. With a three-way switch, you won’t be able to dim the lights at both locations unless you buy an expensive model (about $75) that has some souped-up circuitry.
Before installation, make sure to turn off the power at the main circuit panel. Remove the cover plate and unscrew the screws that hold the old switch in place. Pull it out a few inches and use a neon tester to make sure that there is no power in the box.
This will save you from getting shocked; however, you might tell your date that you did get shocked attempting to create a more romantic setting. You may get some sympathy romance, which is better than no romance at all.
Dimmer switches have wires coming from them as opposed to typical wall switches. So instead of connecting the wires coming from the box directly to the switch, you will connect them to the wires coming from the dimmer switch.
Before you remove the old switch, take note of which wires are attached to which screw terminals. If you have a single-pole switch, just attach the wires from the box to the wires coming from the dimmer switch.
Depending on how the circuit was run, you may have two black wires coming from the box or you may have one black wire and one white wire. Both of these wires will be “hot.” The white wire should be tagged as being “hot” by having a wrapping of black electrical tape near the end; however, this isn’t always the case. Attach the green or bare copper wire from the box to the green grounding screw on the switch.
Use wire nuts on all of the electrical connections for a snug fit.
If you have a three-way switch, the dimmer switch will have an additional wire lead. This common lead will be attached to the common circuit wire, which is typically the one that was attached to the darkest colored screw terminal on the old switch. Connect the remaining wires just like the single-pole switch.
Gently fold the wires back into the box and screw the dimmer to the box. Install the cover plate and turn the power back on to test the switch.
I would recommend having some soft music and drinks on hand before inviting your date back over for dinner.
Mike Klimek is a licensed contractor and owner of Champion Services. Send questions to service@callchampionservices.com or 5460 S. Eastern Ave., Las Vegas, NV 89119. Visit callchampionservices.com.
Do it yourself
Project: Dimmer switch installation
Cost: From $15 on up
Time: About 30 minutes
Difficulty: ★★


