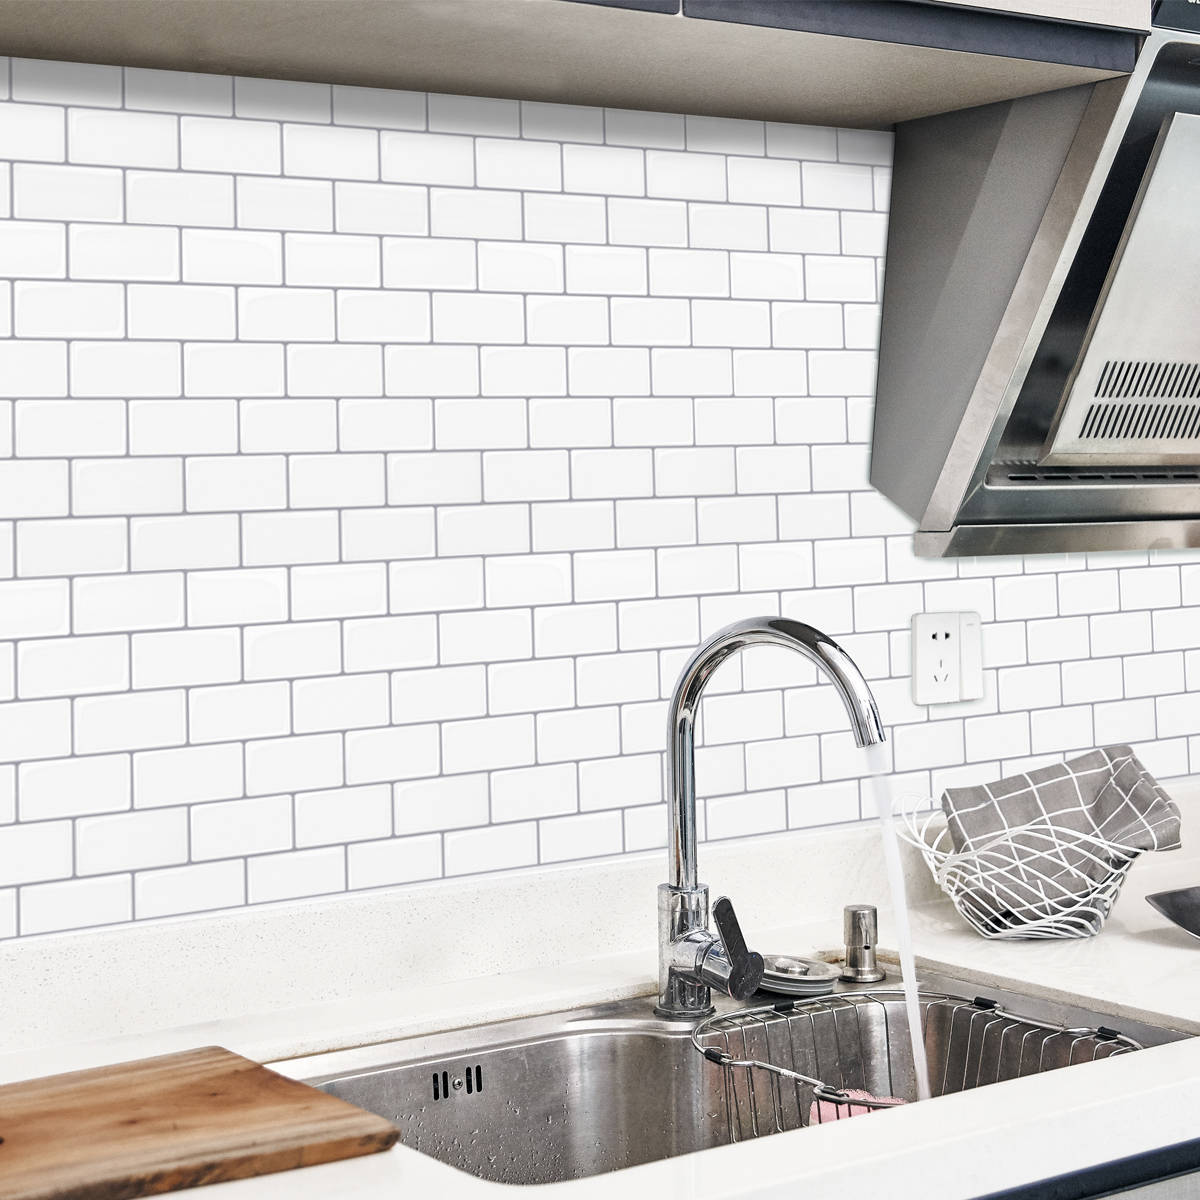
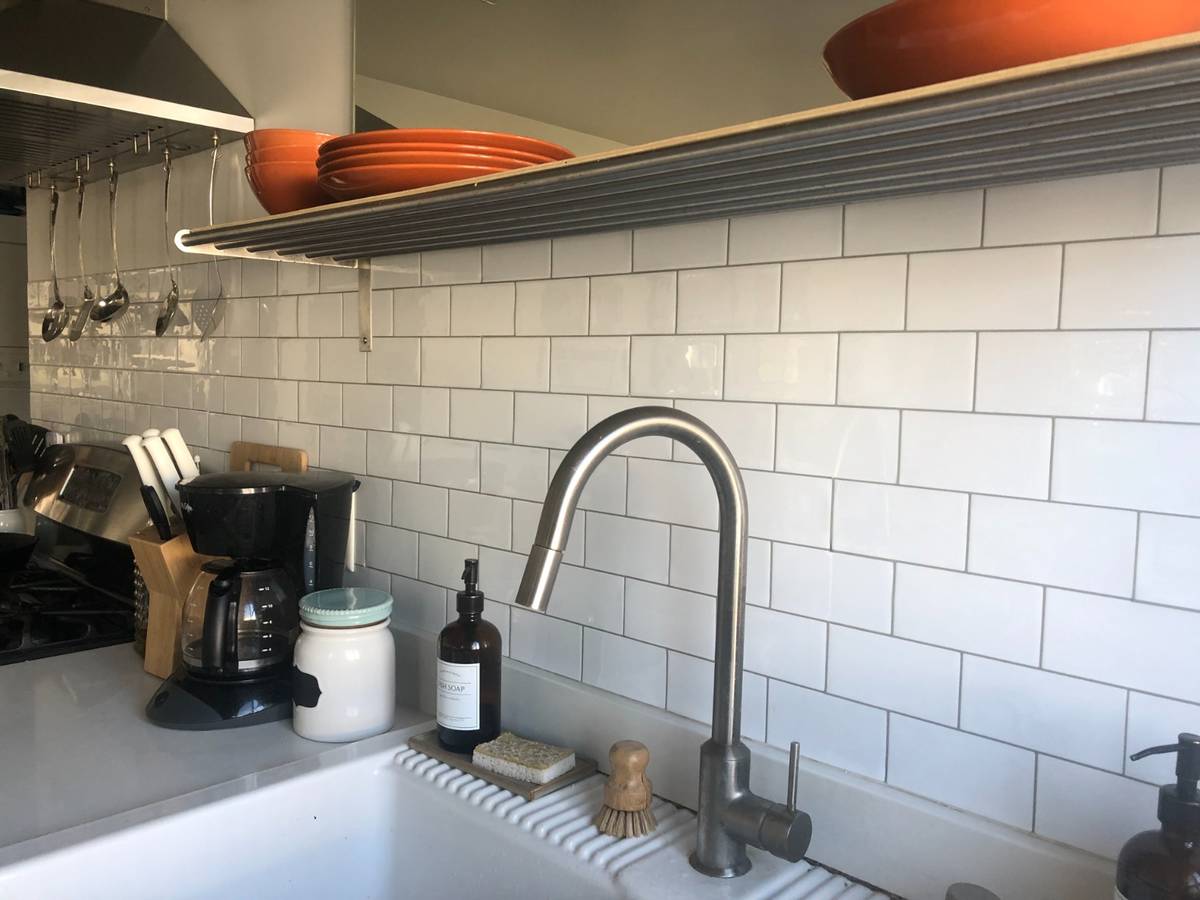
Peel-and-stick tile is inexpensive DIY project
The question lurks in the minds of do-it-yourselfers: How will it look?
Will the project pass the eye test?
Of all the concerns, including cost and difficulty, if the result is hideous, you’ve wasted time and money.
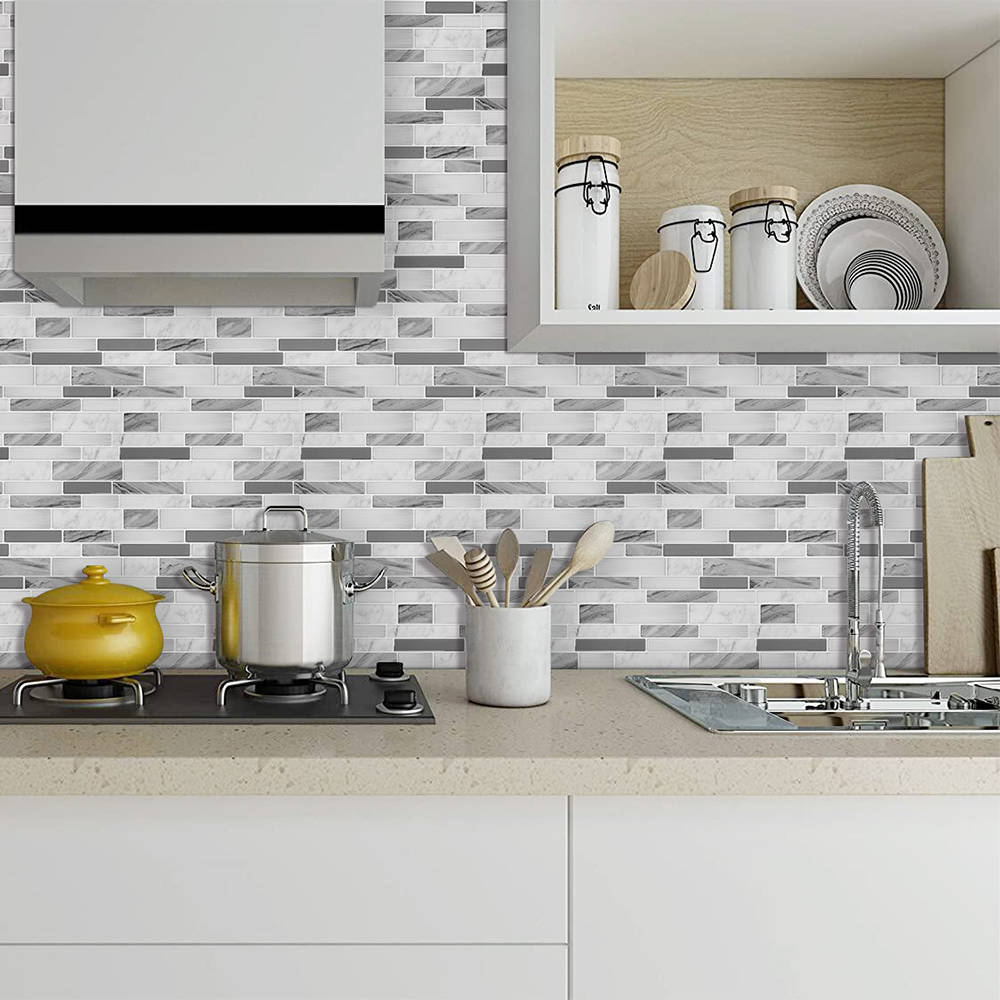
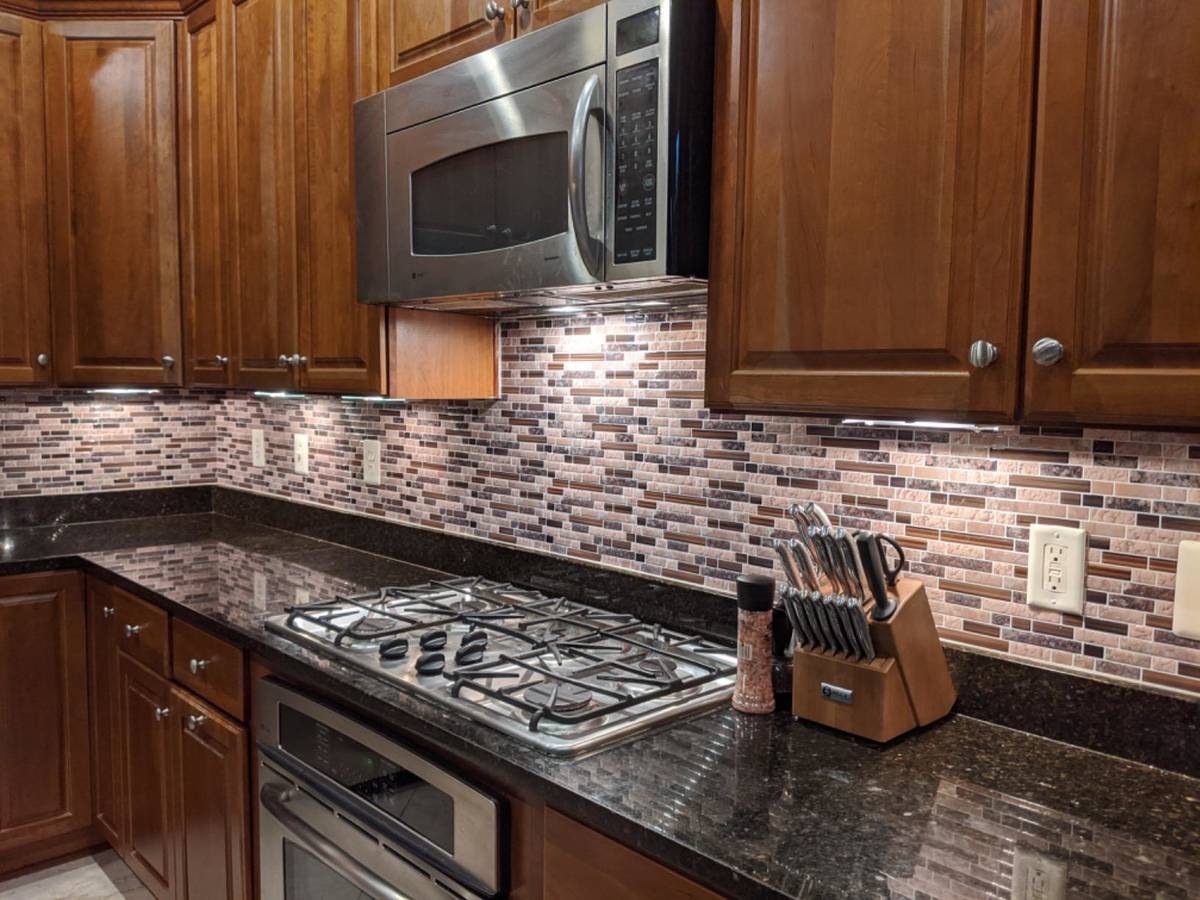
So here’s a bit of mental reassurance when it comes to peel-and-stick vinyl tiles for kitchen backsplashes. They look great. It’s a relatively inexpensive ordeal. And it’s easy.
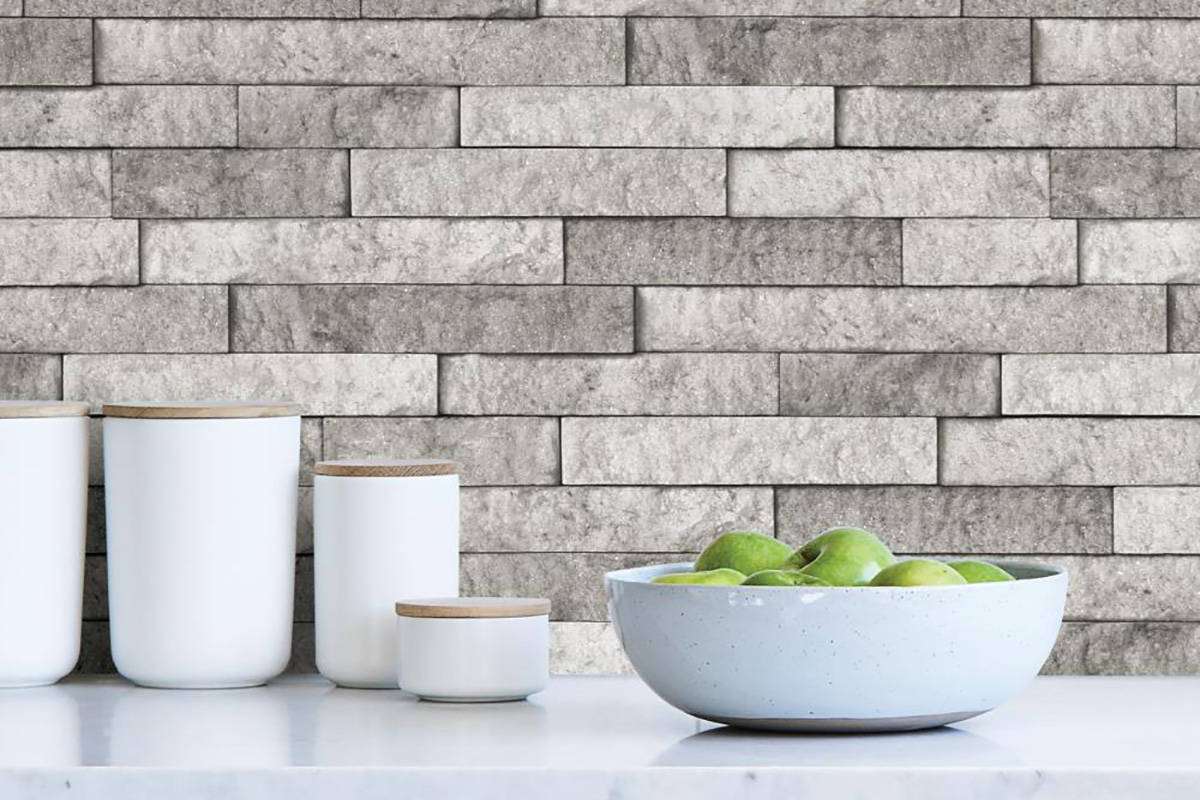
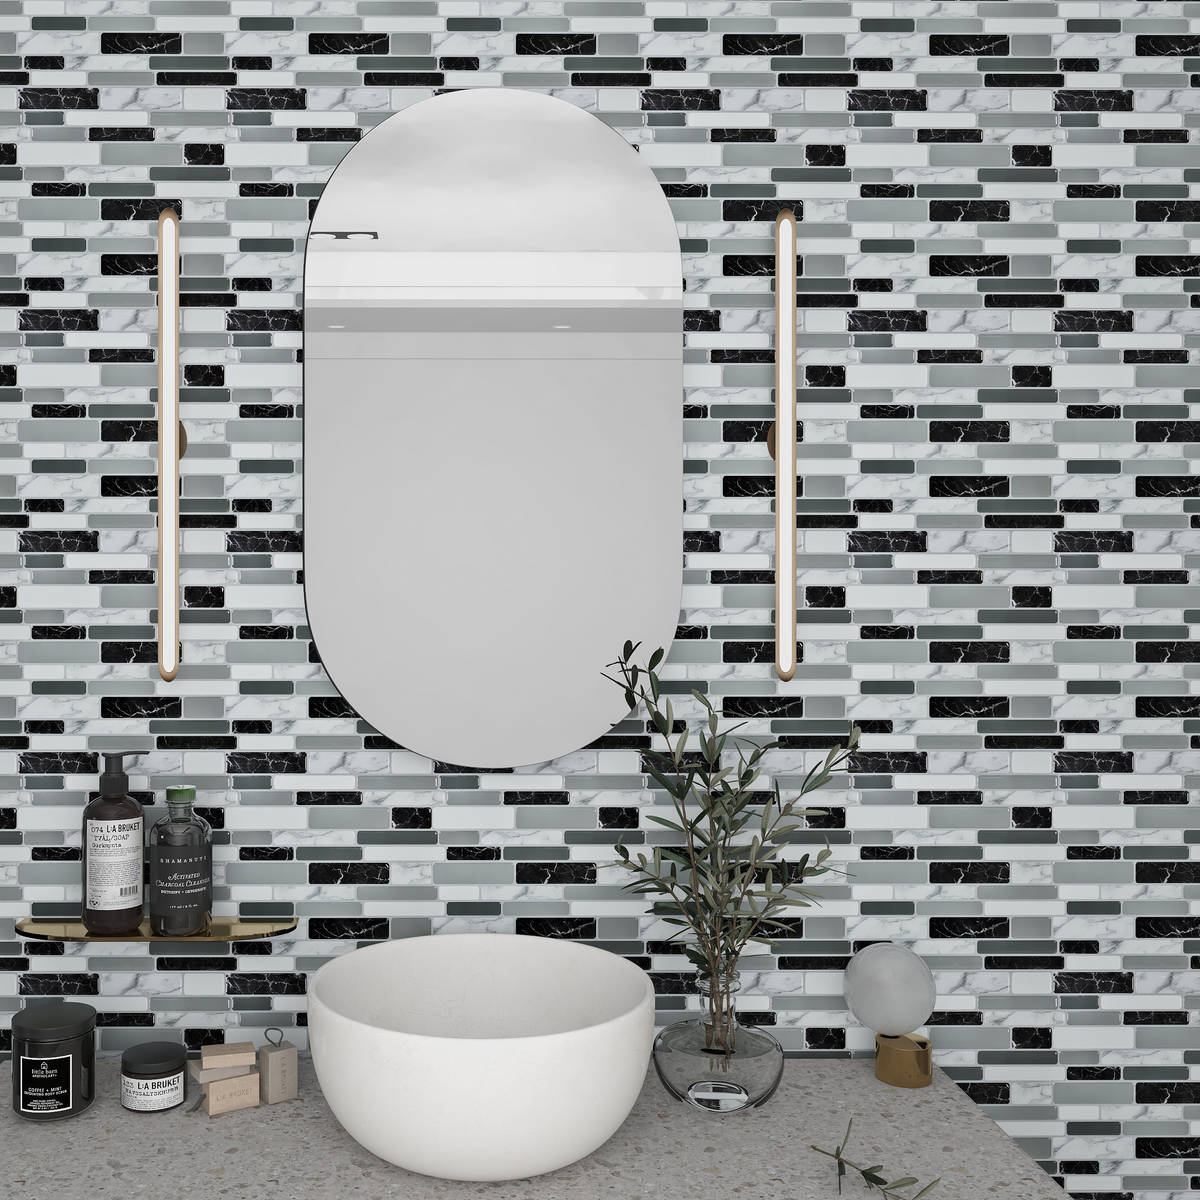
The tiles for backsplashes and some other applications come in a variety of patterns and shapes, so it’s a breeze to mimic glossy glass tiles or even large patterns common with porcelain or ceramic tiles.
Get them mostly in 10-inch-by-10-inch sheets at big-box stores like Lowe’s and Home Depot and online at Amazon and Wayfair, with prices starting from about $6 to $8 per sheet.
Peel-and-stick versions in stone and tile are available starting for about $14 per sheet, but these are more difficult to install because you’ll need a tile saw to cut pieces. If you’re looking for a covering near a fireplace or want a more durable and upscale result, choose peel-and-stick stone or tile. Just remember it’s a more expensive and difficult installation than vinyl.
Kathryn Emery, a home improvement and lifestyle expert (bethebesthome.com), says the product is a dream come true for do-it-yourselfers.
“It allows you to have the look of tile or wood without the mortar, grout and muscle,” Emery said.
The simple installation also means so many different kinds of surfaces can be transformed quickly.
“It’s great for a kitchen or bathroom backsplash, living room fireplace, a patio tabletop, on a bedroom headboard, laundry room or staircase accents or even an entire wall,” Emery said.
Expect most vinyl backsplash projects for kitchens to cost between $100 and $150, excluding a minimal number of tools, like a utility knife or sharp scissors, a cutting board and a straight edge or small carpenter’s square (about $5-$6 at hardware and big-box stores).
Many tiles are heat and moisture resistant, so they’ll stand up to the wear and tear associated with kitchens and non-water-bearing bathroom walls. (You won’t be able to line your shower wall with peel-and-stick vinyl tiles, but you probably can do a small area over a stand-alone tub.)
Check the product’s specifications. For a kitchen backsplash that runs behind a range top, you’ll definitely need a heat-resistant product.
More good news: Most manufacturers have excellent support on their websites. So if a peel-and-stick project is one of your first do-it-yourself tasks, help is a click away.
For example, Smart Tiles, based in the Canadian province of Quebec, offers samples by mail and a thorough installation video at thesmarttiles.com.
Stickgoo is another manufacturer with great support. The company has slightly larger sheets, 12 inches by 12 inches, and even a premium brand, about 1/10th of an inch thick, so they boast more durability (stickgoo.com).
Regardless of the manufacturer, installation can be a bit tricky because the adhesive is quite sticky. Once you peel and put a sheet in place, it can seem near permanent. Repositioning is not always easy.
Emery says renters looking for a quick upgrade might want to get permission from the landlord and run a test on a small portion of a wall to see how tough the tiles are to remove.
You also might need to develop a “touch” to line up sheets correctly. Many sheets have an overlap, so one piece fits into the next and they connect.
One obstacle to a neat and clean installation is air pockets. The vinyl sheets are about 1/6th of an inch thick, so one trick is to peel and roll the sheet onto the surface. You’ll find it’s not unlike the technique for unrolling pie dough over a pie dish.


