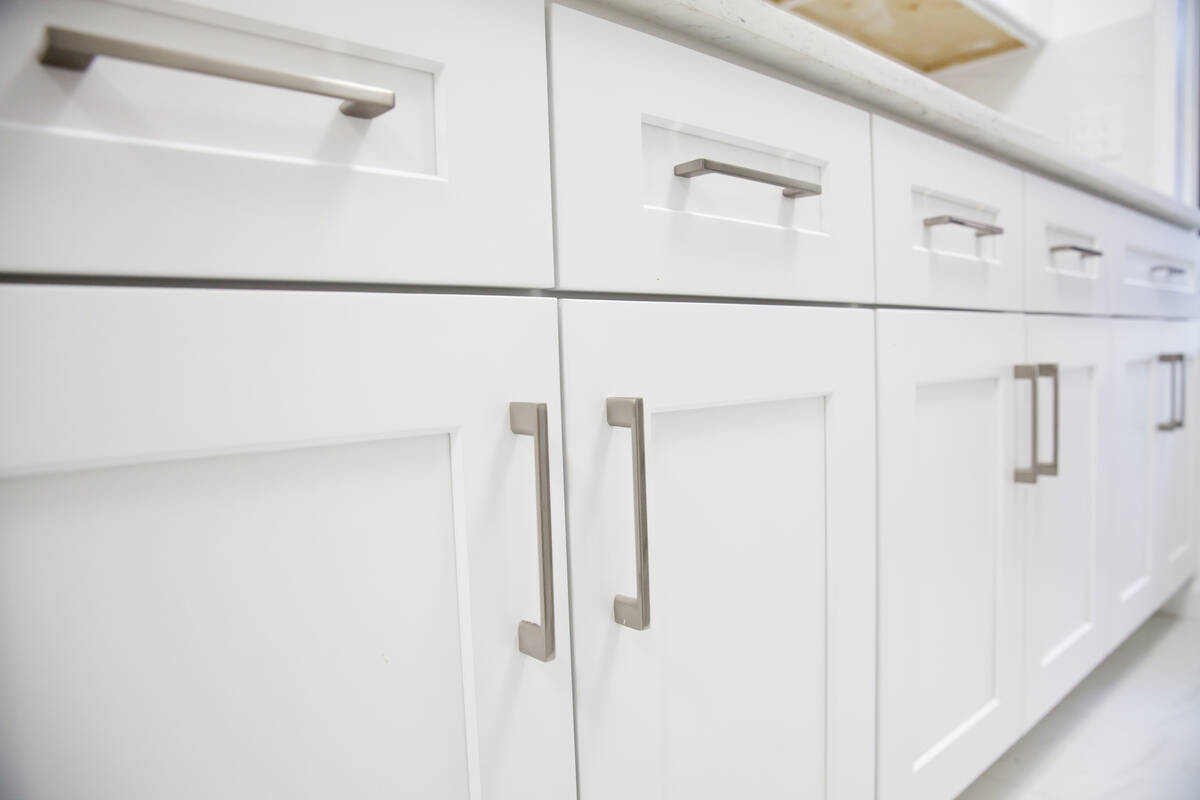
Refacing cabinets is a tedious but rewarding project
Q: I’m thinking about resurfacing my kitchen cabinets. My carpentry skills are decent, but I’ve never done this type of work. Should I give it a try? I don’t want to start something I may regret.
A: Your skills are sufficient, but this is a very tedious and detailed job, and you should make sure your cabinets are up to it. If they aren’t structurally sound, they should be replaced.
If your cabinets pass muster and you choose to refinish, you’ll need to buy new doors and drawer fronts, apply a peel-and-stick wood veneer over the cabinets, and finish all the parts to match.
First, visit a home center or cabinet shop to order new doors and drawer fronts of the same dimensions as you have now. These are special orders, so be prepared to wait a few weeks. An average-sized, prefinished oak cabinet door costs around $125, and a drawer front is about $45.
In the interim, measure the surface area of the face frames to estimate how much veneer you’ll need, then buy 20 percent more. A 2-by-8-foot roll costs about $150.
You’ll also need to measure the visible sides of the cabinets and toe-kick areas to determine how much one-quarter inch, prefinished wood-veneer plywood is needed. Also, give some thought to the style and type of hinges you want to finish the project.
This process is tedious, but your cabinets will look brand new when you’re finished.
Remove all the doors, hardware and drawers, including the drawer fronts if you have them. If not, saw off the overlapping edges of the one-piece drawer front, and move the drawer runners forward by the thickness of the new front.
Use a router with a flush-cutting bit to remove the overhanging ears on the end panels.
Clean the cabinets thoroughly with TSP (trisodium phosphate) to remove grease and oil then let them dry.
Cut and glue a one-quarter-inch end panel for the exposed cabinet sides to fit tightly against the wall. Use contact cement and apply it to both the cabinet and the panel. Push the end panel into place, making sure it’s tight against the wall, then secure the panel with brads. Trim the panel with the router so it’s flush with the face of the cabinet.
Next, repair imperfections in the face of the cabinet with wood putty. Corners that are rounded from wear should be built up with the putty, then sanded or filed back to square.
Sand the cabinet face smooth using 100-grit sandpaper on a sanding block, then remove the dust from the surfaces with a tack cloth. Also, seal all bare wood with a wood sealer.
To apply the veneer, measure the width of the face frames and cut each strip of veneer 1 inch wider than is needed. Cover the vertical stiles first, then do the horizontal rails. Make sure you leave at least three-quarters of an inch of the extra material on the inside of the cabinet.
Peel a little of the backing from the top of the veneer strip, align it to the frame then push down. Remember, once the veneer touches the cabinet, it stays put. Repeat this process until the entire strip is on the cabinet. You can use a wallpaper seam roller to ensure good contact.
Next, fold the extra veneer around the corner so that the inside of the frame is also covered. You’ll have to trim it nearly perfectly so that the corners look like solid wood. Bend the veneer slowly over the corners to avoid cracking it. You might try warming it up with a hair dryer to make it more pliable.
Use a disposable wallpaper snap blade to trim the veneer. This tool has a very thin blade, and once it becomes dull, you snap it off to expose the next blade. File or sand the edges after trimming.
Use the same procedure for the horizontal pieces, except when you start, butt the left end against the left vertical piece you just cut. Let the right edge of the horizontal piece overlap the right vertical piece you just cut. Use a sliding square and the snap blade to cut both pieces at the same time. Remove the scrap lying beneath the horizontal right edge as a result of trimming the overlap. After the veneer is applied, wipe a little stain onto any trimmed, sanded or filed edge to make it blend in.
Attach the new doors and hinges to the cabinets, making sure they are aligned. The hinges should also be uniform in height.
Finally, attach the drawer fronts to the drawers using screws driven from inside the box.
You can dress up your cabinets by installing distinctive knobs or pulls or by adding crown molding at the top.
Mike Klimek is a licensed contractor and owner of Las Vegas Handyman. Send questions to handymanoflasvegas@msn.com or 4710 W. Dewey Drive, No. 100, Las Vegas, NV 89118. Visit handymanoflasvegas.com.
Do it yourself
Project: Refacing cabinets
Cost: Starting around $125 per cabinet
Time: 2-5 days for a kitchen
Difficulty: ★★★★★


