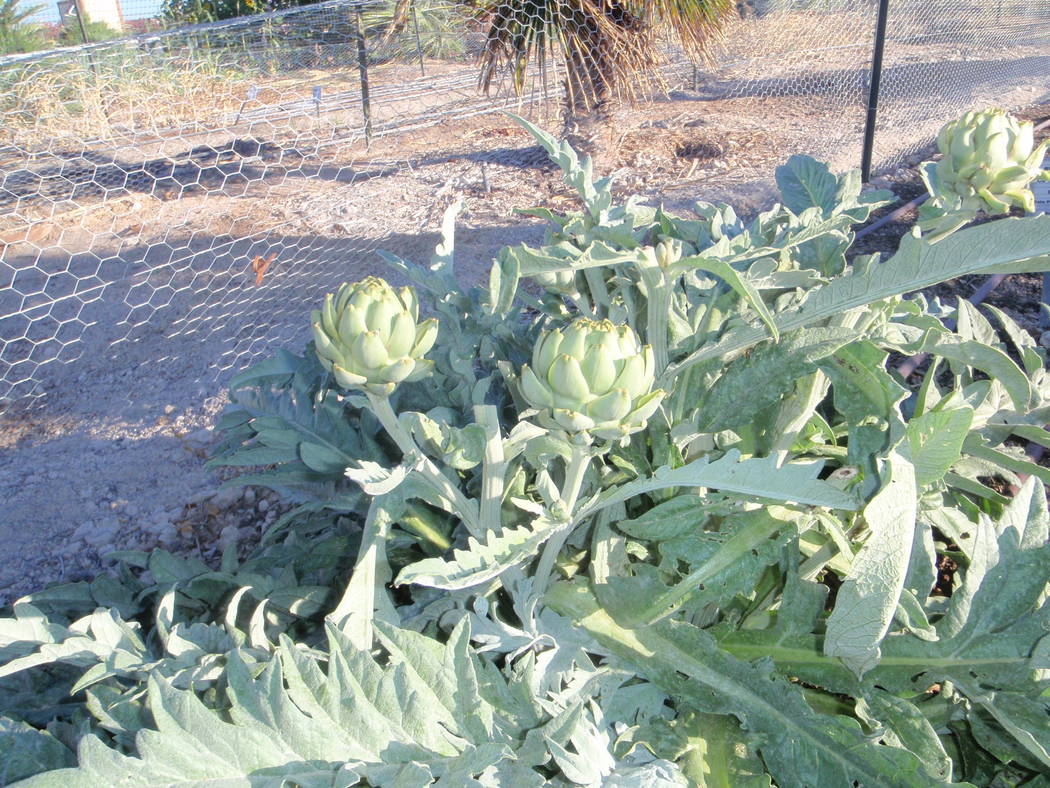
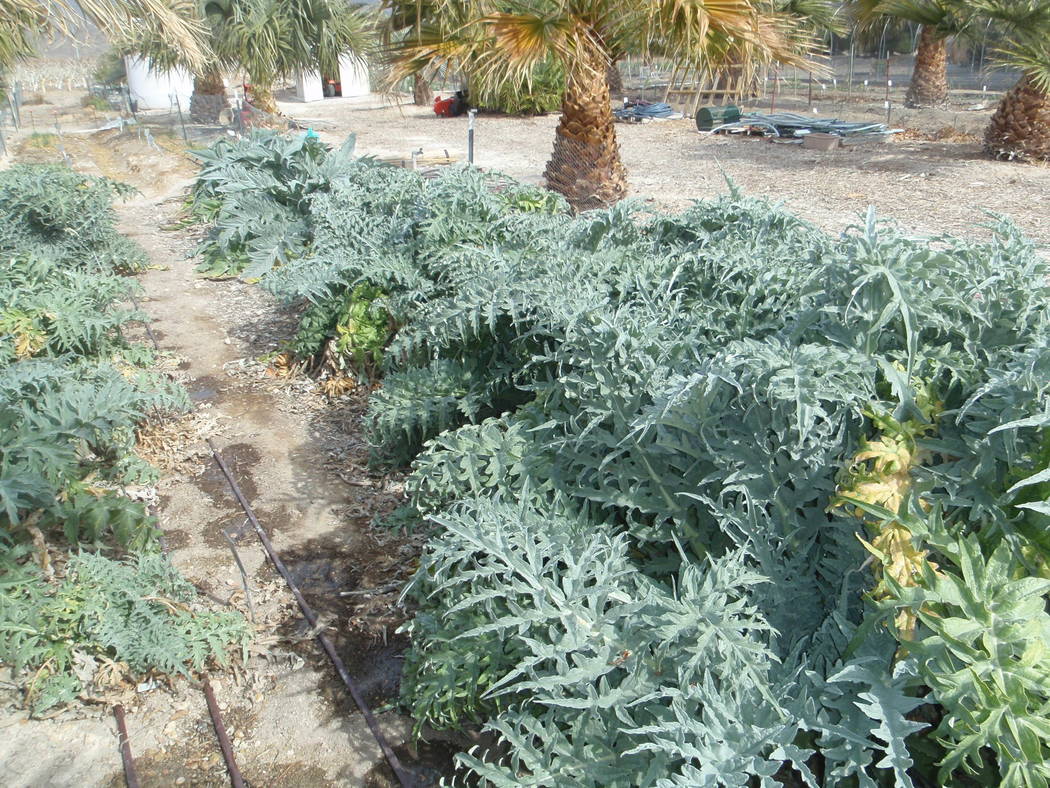
Growing artichokes in the desert can be a challenge
Q: I contacted you earlier about my artichoke and tiny black bugs. I applied a solution of Garden Safe Neem Oil as a spray. Hosed it down a couple times so cut off the top few inches of leaves. No pests since then. The main plant is dying, and there are several suckers growing. I have been looking online for the care of the plant.
A: Care for artichokes growing in the desert is different from other locales. In my opinion, artichokes are very “dirty” plants. In other words, they have a lot of different insect and disease issues.
The main problems I had was with aphids in the spring and whiteflies during the summer, but all of them are collecting on the bottoms of the leaves. I think this plant is dirtier than sunflowers.
Those little black bugs were probably aphids. Aphids love artichokes. The problem with neem oil is the quality of the oil. Sometimes it works, and sometimes it doesn’t. If you have found a good brand that works for you, stay with it.
I also like insecticidal soap sprays for aphids. Both are nonselective, so they kill just about every insect which is sprayed — good bugs as well as bad bugs — so be careful where you apply them.
Both of them usually require repeat applications a few days apart to keep levels of these pests manageable. Aphids don’t like hot temperatures, so their numbers decrease during the heat of the summer and are much easier to control then.
Remove some of the artichoke leaves if they are too close together. Remove them at the base of the plant. This helps air to circulate around leaves which is important in disease prevention and insects are much easier to control.
Artichoke plants don’t like the desert; temperatures are too high, the sunlight too intense and the soils are horrible. Artichoke plants look pretty bad during the summer months because of our desert climate. They perk up quite nicely in the fall and spring months.
Do as much as you can to grow artichokes in an environment closer to their ideal; provide protection from the late afternoon sun, improve the soil with compost at planting time and apply organic mulch to the soil surface surrounding them. I have not done it, but I suspect they will perform better under about 30 percent shade.
We eat their flower buds before they become flowers. For this reason, this plant benefits from a spring application of phosphorus just like tomatoes, roses, squash and cucumbers.
Q: My xylosma bush leaves are dark green with yellow veins, the exact opposite of an iron shortage. I planted these from 5-gallon containers this past January. As the leaves get older, they become more yellow. What is the problem and what can I do?
A: You are right; a lack of available iron commonly affects the color of leaves on newest growth. Mild iron chlorosis in plants is identified with yellowing leaves with their veins remaining a darker green. Newest leaves grown from the plant get yellower and yellower as the season progresses, and the green color of the veins may disappear altogether.
Sometimes the chlorosis is so severe the entire leaf, including the veins, becomes yellow and the edges of the leaves begin to scorch during hot weather. Besides leaf yellowing, shortages of iron always appear on the newest leaves while the older leaves remain darker green.
Green leaves with yellow veins have been reported in citrus, frequently grapefruit. I have not seen yellow veins on xylosma, but there’s a first time for everything.
In the 1950s, yellow veins were demonstrated to be from a lack of nitrogen. Applying high-nitrogen fertilizers, such as ammonium sulfate, corrected the problem in citrus the following year.
Wood chips applied to the surface of the soil also can cause a shortage of nitrogen to growing plants if they are not fertilized. Other possibilities include chemical damage but probably no other plant nutrient besides nitrogen.
What to do? Flush the soil around the roots with lots of water and then apply nitrogen fertilizers such as 21-0-0, compost or blood meal. Flushing the soil with water first might remove any chemicals present causing this problem.
Apply a nitrogen fertilizer after flushing with water or the water could wash most of the nitrogen away. Apply high-nitrogen fertilizers to the soil about 12 inches from the trunk and water it in. Follow label directions on the amount to use, since it varies with each fertilizer and depending on its nitrogen content.
Q: We have a 200-square-foot lawn that gets morning sun and late afternoon shade. The whole thing is brown now, and I think it’s because we overwatered it for the past few months. When we first put down the sod, I don’t know if we had a good enough base. How many inches of good soil should we have above the hard stuff?
A: First things first. You cannot have a good lawn without a good irrigation system in our desert climate. Please be sure your irrigation system was designed and installed correctly.
There is a lot of engineering that must be considered when designing an irrigation system. Make sure you have head-to-head coverage and your operating water pressure lies within guidelines of the sprinkler manufacturer. Select pop-up sprinklers that clear the surrounding grass at the maximum mowing height.
Soil preparation is important before establishing a lawn. But lawns have been successfully established on poor soils, and the soil improved after lawn establishment. I don’t recommend doing it this way, but it can be done.
It seems as though no soil preparation before establishing the lawn would save money, but it actually doesn’t. Inadequate or no soil preparation prior to planting makes a lawn difficult to manage, particularly during the summer months. Lawns established the “inexpensive way” are subject to more disease and irrigation problems.
How to improve it after the lawn has been already planted? Irrigate the lawn, and while the lawn is still moist, aerate it with a gasoline driven aerator. Stay away from sprinkler heads, and hopefully the irrigation pipe was installed more than 4 inches deep or you’ll break the pipe.
After punching holes with an aerator, apply a top dressing to the lawn and rake it into the holes, followed by an irrigation. A good-quality top dressing is screened to 1/8 inch minus and can be purchased from Viragrow in Las Vegas. It’s the same top dressing used on golf courses. Do this once a year for the next two or three years in the spring or fall, and you will see a dramatic improvement if the lawn has a good irrigation system.
Don’t bag your lawn clippings. Recycle them back into the lawn. Most lawnmowers now are recycling mowers and chop the lawn grasses fine enough so there are no problems afterward. If you have an older mower that is not a recycling mower, retrofit it with a mulching blade and mow the grass more slowly than you would normally. Don’t bag the clippings.
Ideally, new lawns should have a 12-inch base of good soil. If that is not practical, then a 6-inch base would be the minimum. Removing that much soil and replacing it with good soil would be expensive and a lot of work.
It would be better to mix a 1-inch layer of compost with your existing soil and mixing or tilling it in. No fertilizer is needed the first season after planting if a good-quality compost is used.
Bob Morris is a horticulture expert and professor emeritus at the University of Nevada, Las Vegas. Visit his blog at xtremehorticulture.blogspot.com. Send questions to Extremehort@aol.com.


